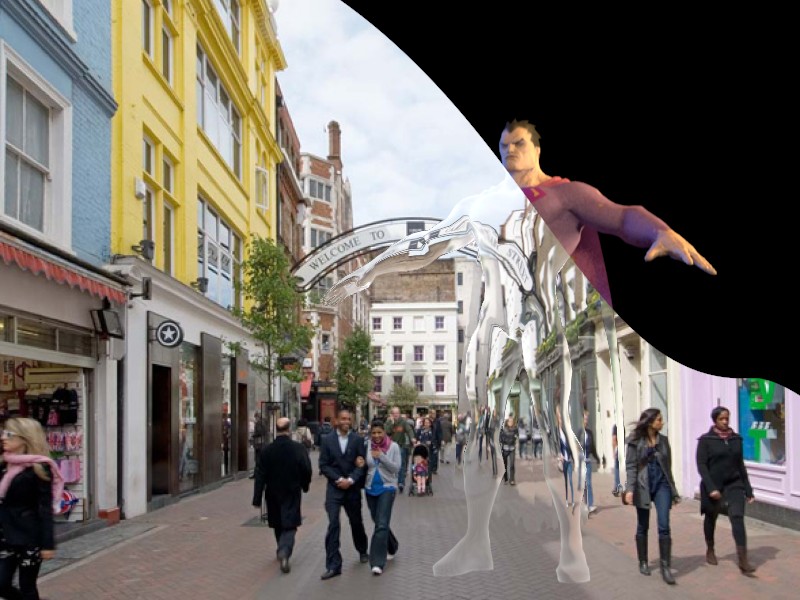
This is a short tutorial on how to use my Refract to the Future script. it’s very easy to use and probably doesn’t require a tutorial at all, but here it is anyway.
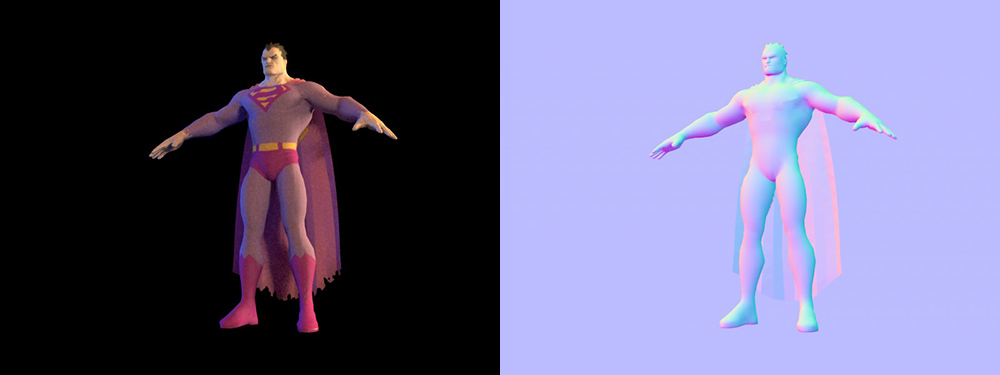
This script is designed to use a Vray Normal map to create a refraction like effect. I’ve not tested it on other renderers (arnold, mental ray etc.) so I’m not sure if it will work with them, so lets just assume you’re using Vray.
Vray seemed to be the odd one out as I had to invert various channels and not others to get it to work.

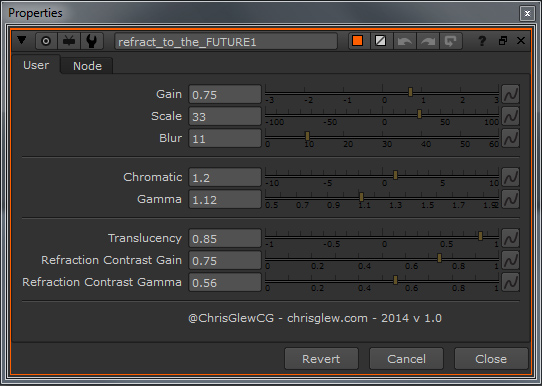
Download the gizmo from the scripts page on my site (here) and start nuke, when you load Refract_to_the_Future you will be have a few options:
Gain – affects the amount of distortion around the edges
Scale – affects the amount of distortion globally
Blur – adds blur to the edges of the normal map
Chromatic – adds chromatic aberration
Gamma – Translucency -Refraction Contrast Gain – Refraction Contrast Gamma – all these knobs control the ‘milkyness’ of the item being refracted to various degrees, play with them to see what they do!
Simply plug in the normal map into an image and there you have it!
Note – ‘Bizaro’ model came from a free 3d model website and I don’t have the artist name, sorry about that. Also, any similarities to Robert Zemeckis ‘Back to the Future’ films is purely conincidental..


